Skip to content
Need a WooCommerce tutorial to launch your online store? You’re in the right place. This guide will walk you through each essential step—from installing WooCommerce to customizing your shop—so you can start selling online quickly and efficiently.
Key Takeaways
- WooCommerce is a free, open-source plugin for WordPress that allows you to easily set up your online store with fundamental configurations.
- Customizing your store involves choosing the right theme, adding essential plugins, and configuring key pages for an improved user experience.
- Optimizing performance through reliable hosting, speed optimization techniques, and extensions is crucial for delivering a seamless shopping experience.
Setting Up WooCommerce on Your WordPress Site
Starting your journey with WooCommerce is like setting the foundation for a robust online store foundation. WooCommerce core is free and open-source, but additional functionality—such as premium themes, extensions, or advanced payment gateways, may require paid subscriptions Official WooCommerce Extensions.
To kick things off, you need a domain name and web hosting, most hosting services offer a one-click WordPress installation, simplifying the process on an open source platform.
Once you’ve set up your WordPress site, the next steps are:
- Install and activate the WooCommerce plugin.
- Configure your store settings.
- Add products.
- Add tax for countries you will sell to.
- Configure shipping methods.
- Select payment methods.
- Prepare your store for launch.
Installing WooCommerce Plugin
The first step in building your WooCommerce store is to install the WooCommerce plugin. To get started:
- Access your WordPress dashboard by navigating to yoursite.com/wp-admin in your web browser.
- Once you’re in the dashboard, head to the Plugins section and click on ‘Add New’.
- In the search bar, type ‘WooCommerce’ and hit enter.
- You’ll see the WooCommerce plugin by Automattic appear in the search results.
Please follow these steps to install and activate the WooCommerce plugin:
- Click the ‘Install Now’ button located next to the WooCommerce plugin.
- Wait a few moments for the installation process to complete.
- Once installed, click ‘Activate’ to enable the plugin on your site.
- Activating WooCommerce will automatically trigger the WooCommerce setup wizard, which will guide you through the initial configuration steps.
Completing the setup wizard is crucial as it helps configure essential settings like store location, currency, and product types. The wizard also ensures that your store is ready for basic operations, such as managing products and handling payments. Upon completing this process, your WooCommerce store will be ready for further customization.
Configuring Basic Store Settings
Once you’ve activated the WooCommerce plugin, the next step is to configure your store settings using the setup wizard. Start by:
- Entering your store name
- Selecting your store type
- Providing your store location
- Entering your email address
Ensure that the admin email address you provide is accurate, as this is where you’ll receive important notifications about your store.
In the General tab of WooCommerce settings, configure the following options:
- Store currency
- Selling locations
- Display preferences Choose the types of products you plan to sell, such as:
- Physical goods
- Digital downloads
- Subscriptions
- Don’t forget to click ‘Save Changes’ after reviewing all these settings to finalize your store’s configuration.
Selecting Payment Methods
Now that your basic store settings are configured, it’s time to set up payment methods so you can start accepting payments. WooCommerce allows you to integrate various payment gateways such as WooCommerce Payments, Stripe, and PayPal, which can be configured directly from the Payments tab. To start, click on ‘Set up WooCommerce Payments’ or navigate to the Payments tab to access the available options.
You can enable or disable different payment processors based on your business needs. For instance, enabling WooCommerce Payments allows you to accept credit card payments seamlessly. Here are some important points to consider:
- Have a free SSL certificate to securely process payments.
- After configuring your chosen payment methods, test them to ensure they work correctly.
- Ensure the payment methods provide a smooth checkout experience for your customers.
Additionally, you can select additional payment options and specify payment settings for each. For example, you might want to offer debit card payments or integrate with other payment processors to cater to a broader audience. Once you’ve finished setting up, click the ‘Finish setup’ button to complete the process.
Customizing Your WooCommerce Store
Customizing your WooCommerce store is where the magic happens. It’s about creating a unique, attractive, and functional online store that resonates with your brand. This process involves choosing a theme, adding essential plugins, and configuring store pages to enhance both appearance and functionality.
Let’s dive into each of these aspects to make your WooCommerce store stand out with a quick overview.
Choosing a WooCommerce Theme
The theme you choose for your WooCommerce store plays a crucial role in its overall look and feel. When selecting a theme, focus on speed, reliability, and compatibility with WooCommerce. To find a suitable theme, go to Appearance > New Theme in your WordPress dashboard and use the search bar to find WooCommerce-compatible themes.
Once you’ve found a theme that suits your needs, click the ‘Install’ button, followed by ‘Activate’ to apply it to your store. A well-chosen theme not only enhances the visual appeal of your store but also improves user experience, making it easier for customers to navigate and find what they’re looking for.
Adding Essential Plugins
Plugins are critical for extending the functionality of a WooCommerce store. Essential plugins enhance operations across SEO, security, performance, and customer experience. To add them, navigate to Plugins → Add New in your WordPress dashboard and search for the plugin name. Recommended and most popular plugins include:
- SEO Optimization: Yoast
- Security: Wordfence Security
- Performance: WP Rocket
- Backup & Maintenance: UpdraftPlus
- Analytics & Tracking: MonsterInsights
- Email & Marketing: MailPoet
- Cart & Conversion Optimization: Abandoned Cart Recovery, TrustPulse
Each plugin should be added selectively based on the store’s needs to prevent bloat and performance degradation. For instance, the Jetpack plugin is often not recommended due to its potential to bloat your site. Instead, focus on installing only the plugins that add real value and functionality to your store.
Configuring Store Pages
Setting up key pages for your WooCommerce store is essential for a seamless shopping experience. These key pages include:
- Shop page: displays all available products
- Cart & Checkout: facilitates the purchasing process
- My Account: (implied key page for user account management)
To configure these pages, navigate to WooCommerce > Settings > Advanced in your WordPress dashboard and ensure that each page is correctly assigned. Additionally, using product categories and tags helps organize items, making it easier for customers to navigate and find related products.
Adding and Managing Products
Adding and managing products is the heart of your WooCommerce store. Start by:
- Navigating to Products » Add New in your WordPress dashboard.
- Creating a product title and a short description to clearly identify the product.
- Including a main product description that outlines key features, benefits, and details a customer would want to know to sell products.
In the Product data section, enter all the details such as product type, prices, stock quantity, stock keeping unit, and shipping class. WooCommerce supports various product types, including simple products, variable products and digital products.
After providing all necessary product details and images, preview the product page and then click the ‘Publish’ button to start selling it in your store.
Organizing Products with Categories and Tags
Organizing your products with categories and tags improves your store’s navigation and searchability. Product categories allow you to group similar products, making it easier for customers to find related items. For example, if you sell clothing, you can create categories like ‘Men’, ‘Women’, and ‘Accessories’.
Product tags provide more specific keywords for products, enhancing their visibility in search results and improving SEO. Use tags to highlight specific product attributes or features, such as ‘organic’, ‘handmade’, or ‘sale’. Properly organized products make for a more customer-friendly shopping experience.
Configuring Shipping and Tax Options
Configuring shipping and tax options is a critical step in setting up your WooCommerce store. These settings ensure that your customers receive accurate shipping costs and tax calculations.
Start by navigating to the WooCommerce ‘Settings’ page and clicking on the ‘Shipping’ tab to configure shipping zones and methods. WooCommerce helps configure tax rates, but consulting a tax professional can be necessary to ensure compliance. WooCommerce Tax Documentation
Setting Up Shipping Zones
Shipping zones in WooCommerce allow you to define specific geographic areas for shipping. To create a shipping zone:
- Click ‘Add shipping zone’.
- Name the zone after the applicable region, such as ‘United States’ or ‘Europe’.
- After defining the zone, add a shipping method like flat rate, free shipping, or WooCommerce shipping, or local pickup.
You can offer multiple shipping methods within the same zone, providing flexibility for your customers. If you ship to multiple regions, repeat the process to set up additional zones. This customization ensures that your shipping options meet the needs of your diverse customer base.
Configuring Tax Settings
Setting up tax options in WooCommerce ensures that you charge sales tax for the correct WooCommerce tax on your products. Begin by clicking on ‘Collect sales tax’ in the setup checklist, which will guide you through a three-step configuration process. You can set specific tax rates for different products and choose whether to display prices inclusive or exclusive of taxes.
Consulting a tax professional can help you configure these settings accurately, ensuring compliance with local tax laws and avoiding any legal issues.
Enhancing Your Store with Extensions
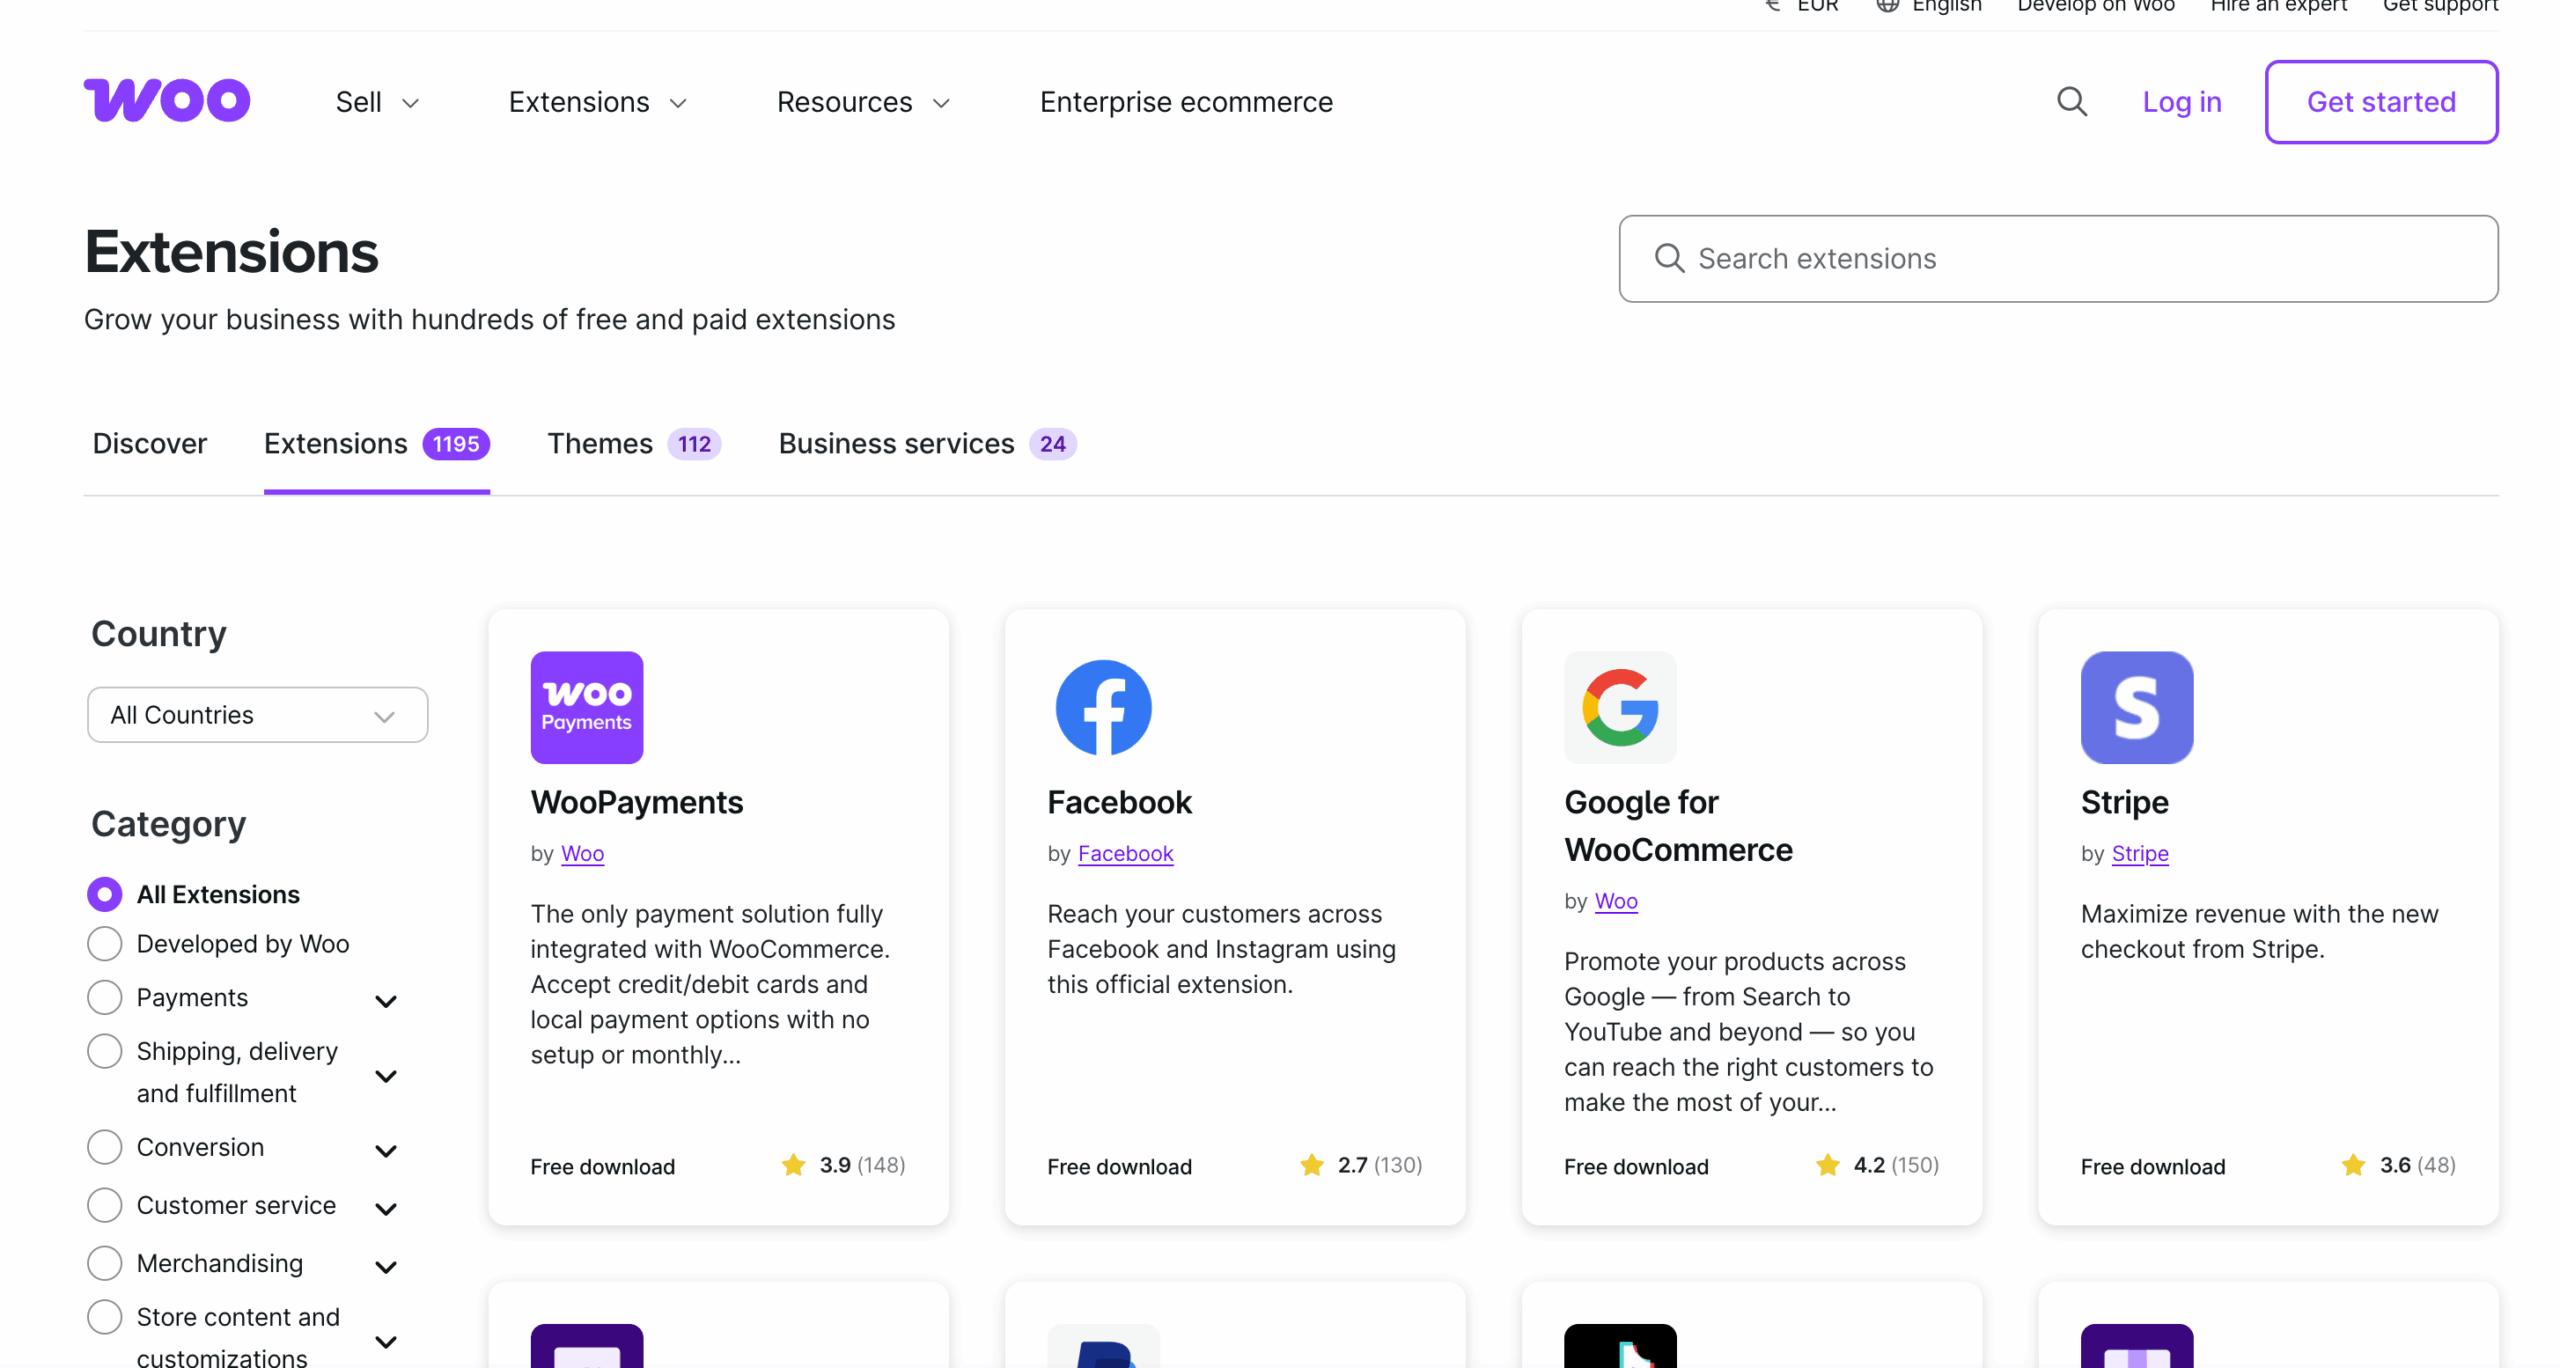
Extensions are the secret sauce that can elevate your WooCommerce store to new heights. WooCommerce offers a variety of extensions for:
- shipping options
- subscriptions
- checkout customization
- social media marketing.
These free extensions add functionality, enhance user experience, and ultimately boost your store’s performance.
Marketing and SEO Extensions
Marketing and SEO extensions are essential for driving traffic to your WooCommerce store and improving search engine rankings. SEO plugins help enhance your store’s visibility, making it easier for potential customers to find your products. Utilize these plugins to optimize your product pages, meta descriptions, and keywords.
Effective marketing strategies, supported by the right plugins, can significantly boost sales performance. Plugins for:
- email marketing
- social media integration
- customer reviews are just a few examples of tools that can help you reach a broader audience and engage with customers more effectively.
Payment Gateway Extensions
Payment gateway extensions allow you to offer a variety of payment options to your customers, enhancing their shopping experience. Some options include:
- WooCommerce Payments: a recommended primary payment method for new stores, offering seamless integration and ease of use.
- Free Stripe Payment Gateway for WooCommerce plugin: an alternative for additional flexibility.
- Braintree For WooCommerce plugin: another alternative for additional flexibility.
These extensions enable you to accept payments via credit cards, debit cards, and digital wallets, catering to a wide range of customer preferences. Ensuring secure and diverse payment options can significantly enhance customer trust and conversion rates.
Customer Engagement Extensions
Customer engagement is crucial for building lasting relationships and fostering loyalty. Extensions that facilitate real-time communication, such as live chat tools, can significantly enhance customer interactions. These tools allow you to address customer queries instantly, improving their shopping experience and increasing the likelihood of a purchase.
Moreover, email automation tools can keep customers informed about their order status, upcoming sales, and personalized offers based on their previous purchases. These engagement tools are essential for creating a more interactive and satisfactory shopping experience for your buyers.
Optimizing Store Performance
Optimizing your WooCommerce store’s performance is key to ensuring a smooth and efficient shopping experience. From choosing the right hosting provider to implementing speed optimization techniques, these strategies can significantly impact your store’s success.
Testing your store on mobile devices and reviewing key pages for functionality are also crucial steps in maintaining high performance.
Choosing the Right Hosting Provider
A reliable hosting provider is essential for your store’s performance and uptime. Larger stores may benefit from managed WooCommerce hosting, while smaller stores can often operate efficiently on shared hosting. For detailed guidance, see our Hosting Guide.
Look for hosting that supports WooCommerce features, offers pre-installed WordPress/WooCommerce if possible, and includes a free SSL certificate to secure transactions. These features help ensure smooth, secure operations and simplify setup so you can focus on running your store.
Speed Optimization Techniques
Speed optimization is essential for enhancing user experience and improving conversion rates. Start by using image compression tools before uploading featured image files to decrease file sizes and enhance load times. Additionally, enabling GZIP compression can reduce the file sizes of HTML, CSS, and JavaScript, leading to faster loading speeds for your store.
Implementing a Content Delivery Network (CDN) can also accelerate the delivery of static assets by distributing them across various global servers. These techniques ensure that your WooCommerce store runs smoothly, providing a seamless shopping experience for your customers.
Summary
By following this comprehensive step by step guide, your WooCommerce store is now ready to go live. You’ve learned how to:
- Install the WooCommerce plugin
- Configure essential settings
- Customize your store
- Add and manage products
- Optimize performance
The next steps involve setting up email flows, starting your marketing strategies, and processing orders as part of the setup process. Remember, if you need professional help, Progressus, and our expert woocommerce development team, can handle everything for you.
Frequently Asked Questions
What is WooCommerce, and why should I use it for my eCommerce store?
WooCommerce is a free eCommerce plugin for WordPress that gives you flexibility and control over your online store. If you’re looking for a customizable and scalable solution without licensing fees, it’s definitely worth considering!
How do I install the WooCommerce plugin on my WordPress site?
To install the WooCommerce plugin, just head to your WordPress dashboard, go to the Plugins section, search for ‘WooCommerce’, click ‘Install Now’, and then hit ‘Activate’. You’ll be set up in no time!
What are the essential settings I need to configure after installing WooCommerce?
You should definitely start by using the setup wizard to configure your store name, location, currency, and product types. Also, remember to set up your payment methods and shipping options to ensure your store is ready to go!
How can I optimize the performance of my WooCommerce store?
To boost your WooCommerce store’s performance, focus on a solid hosting provider, compress images, enable GZIP compression, and use a CDN. Don’t forget to regularly test the site on various devices for optimal results!
What are some essential plugins for enhancing my WooCommerce store?
To enhance your WooCommerce store, focus on essential plugins like SEO tools for visibility, security plugins for safeguarding your site, and performance boosters for quicker load times. Keep it streamlined by avoiding bloated options like Jetpack.